
Oven’s preheating, and I’m mixing up the batter for Bran Muffins. The kitchen smells like sweet honey and warm spices already. I can’t wait to pull them out, golden-edged and fluffy.
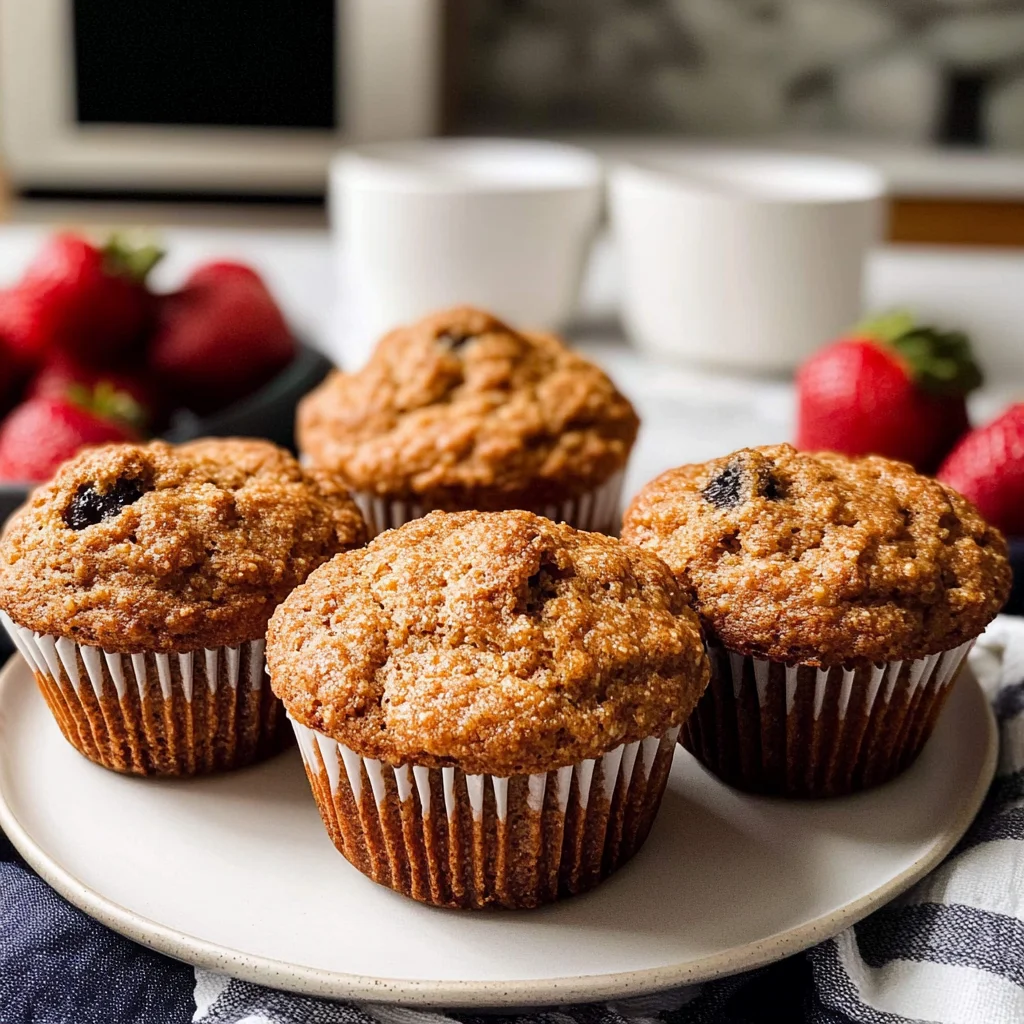
These muffins are perfect for mornings when you need a quick breakfast but want something filling. They come together in about 30 minutes with just one bowl, making cleanup a breeze (trust me on this). Plus, they pack in all that fiber without feeling heavy. You can’t go wrong here.
Get ready for a treat!
Why You’ll Love This Bran Muffins
- Super Easy: Just mix everything together and pop it in the oven — no fancy skills needed.
- Stick-to-Your-Ribs Flavor: It’s got that cozy, sweet vibe from brown sugar and honey that’ll make you smile.
- Crisp-Tender Texture: The outside gets a lovely golden edge while staying soft and chewy inside — pure muffin magic!
- Versatile Base: Toss in whatever add-ins you like; raisins and walnuts are great, but chocolate chips would rock too.
- Nutritious Bonus: It packs a decent amount of fiber, but don’t expect it to taste super healthy (trust me).
Bran Muffins Ingredients
For the Base:
wheat bran (2 cups) — Use Bob’s Red Mill wheat bran for best texture; cheap stuff won’t cut it.
buttermilk (1 cup) — Don’t skimp on the buttermilk; it’s key for that moist, tender crumb.
brown sugar (1/2 cup) — Light or dark brown sugar? Go dark for richer flavor, or your muffins won’t pop.
honey (1/4 cup) — Use real honey, not syrup; fake stuff’ll make ’em too sweet and sticky.
egg (1 large) — Always use large eggs; small ones won’t give enough lift, and they’ll be dense.
whole wheat flour (1 cup) — Don’t swap whole wheat flour for all-purpose; it’s essential for that hearty texture.
baking soda (1 teaspoon) — Don’t skip the baking soda; it’s what makes ’em rise, or they’ll be flat as pancakes.
salt (1/2 teaspoon) — Use fine sea salt, not table salt; it’ll balance flavors better, or they’ll taste off.
Optional Add-Ins:
raisins (1/2 cup) — Plump your raisins in warm water first; dry ones’ll ruin the moisture factor.
walnuts (1/2 cup) — Chop walnuts roughly; whole ones won’t distribute well and you’ll miss that crunch.
Full measurements in the recipe card below.
How to Make Bran Muffins
1. Prep the Oven: Preheat your oven to 375°F (190°C) and line a muffin tin with paper liners or grease it lightly. You want that non-stick action for easy removal.
2. Soften the Bran: In a large bowl, combine 2 cups of wheat bran and 1 cup of buttermilk. Let it sit for about 10 minutes to soften the bran — you’ll notice it gets a bit gooey.
3. Mix Wet Ingredients: Add 1/2 cup of brown sugar, 1/4 cup of honey, and 1 large egg to the bran mixture. Mix until everything’s well combined (don’t forget to scrape the sides!).
4. Combine Dry Ingredients: In a separate bowl, whisk together 1 cup of whole wheat flour, 1 teaspoon of baking soda, and 1/2 teaspoon of salt. You want this dry mix nice and fluffy before combining.
5. Mix Together: Gradually add your dry ingredients to the wet mix, stirring until just combined. Don’t overmix! A few lumps are okay; otherwise, you’ll end up with tough muffins.
6. Add Extras (Optional): If you’re using them, fold in 1/2 cup of plumped raisins and chopped walnuts now. They should be evenly distributed for that perfect bite every time.
7. Bake the Muffins: Spoon the batter into your prepared muffin tin, filling each cup about two-thirds full. Bake for 18-20 minutes or until a toothpick comes out clean — trust me, they’ll puff up beautifully!
And watch out—if you rush this step and open the oven too soon, they might collapse before they’ve fully risen!
Exact quantities in the recipe card below.
How to Store Bran Muffins
- Room Temperature: Keep them in an airtight container for up to 3 days. They’ll stay soft, but they might get a bit crumbly after that.
- Refrigerator: Store in a sealed container for about a week. (But fair warning — the texture can get a little dense and dry.)
- Freezer: Wrap individually in plastic wrap or foil, then toss in a freezer bag for up to 3 months. They freeze surprisingly well, but don’t expect them to taste fresh out of the oven.
- Reheating: Pop one in the microwave for about 15-20 seconds or until warm (you’ll know it’s ready when it starts to smell all cozy). If you want that just-baked vibe back, try reheating in an oven at 350°F until warmed through.
What to Serve with Bran Muffins?
These muffins are hearty and filling on their own, but adding a few sides can lighten things up and create more balance.
- Greek Yogurt: A dollop of tangy yogurt adds creaminess while balancing the sweetness. (It’s also super quick—just scoop it out!)
- Fresh Berries: Try strawberries or blueberries for a pop of color and tartness that brightens up each bite.
- Nut Butter: Spread almond or peanut butter on top for a creamy texture contrast. Just be careful not to overdo it!
- Citrus Slices: Oranges or grapefruit offer refreshing acidity, cutting through the richness beautifully. (Peel and slice them right before serving.)
- Honey Drizzle: A light drizzle adds extra sweetness without being overwhelming, especially if you’re craving something sweet.
- Smoothie: Blend up a quick banana-strawberry smoothie for a cool, fruity drink that complements it perfectly.
- Herbal Tea: Serve with a warm cup of chamomile or mint tea for a cozy pairing that feels soothing.
Bran Muffins Variations
Here’s how to play with this recipe and make it your own!
- Nutty Twist: Add 1/2 cup chopped walnuts when mixing the wet ingredients for a crunchy texture.
- Sweet Surprise: Stir in 1/2 cup raisins with the dry ingredients for that sticky-sweet burst.
- Honey Swap: Replace honey with an equal amount of maple syrup for a different sweetness profile.
- Cinnamon Kick: Mix in 1 teaspoon of cinnamon with the dry ingredients for a warm, cozy flavor.
- Fruit Fusion: Fold in 1/2 cup chopped apples or pears after combining wet and dry ingredients for added moisture.
- Next Level Muffins: Toss in 1/4 cup of cocoa powder with the dry mix for chocolatey, melty-gooey goodness.
- Zesty Boost: Add 1 teaspoon of vanilla extract to the wet mix for an aromatic lift (trust me on this!).
Make Ahead Options for Bran Muffins
I like to prep the wet ingredients for these Bran Muffins a day in advance. I mix the wheat bran and buttermilk, then cover it tightly in an airtight container in the fridge. You can also measure out your dry ingredients and store them together. Just keep those mixed dry goods in a sealed bag or jar at room temperature. When you’re ready to bake, you’ll combine everything and add any optional add-ins right before popping them in the oven. I’ve found that the muffins hold well for a couple of days, but they can dry out quickly, so I recommend enjoying them fresh! Trust me on this one—don’t skip that warm muffin moment!
Bran Muffins Recipe FAQs
Can I make Bran Muffins ahead of time?
Absolutely! You can prepare the batter the night before and keep it in the fridge. Just remember, letting it sit too long might affect the texture, so try to bake them within 24 hours for best results. If you want to freeze them, bake first, then cool completely before wrapping individually. They’ll last about three months in the freezer (trust me, they’re great for quick breakfasts!).
Why did my Bran Muffins turn out dense?
If your muffins are dense, it’s likely due to overmixing or not using enough leavening agent. When you mix the wet and dry ingredients, stop as soon as they’re combined — a few lumps are totally fine! Also, make sure your baking soda isn’t expired; that’ll kill their rise. If they smell slightly burnt or look flat as pancakes when done, something went wrong!
What can I substitute for buttermilk in this recipe?
You can use plain yogurt thinned with a bit of water or milk to mimic buttermilk’s tangy flavor and moisture. You could also mix regular milk with a teaspoon of vinegar or lemon juice and let it sit for about five minutes—just don’t skip this step! But honestly, if you can find buttermilk, use it; it really adds that soft crumb we all love.
How do I know when my muffins are done baking?
You’ll know they’re done when they’ve puffed up beautifully and a toothpick inserted into the center comes out clean or with just a few crumbs clinging to it. If you see wet batter on that toothpick, give ’em another minute or two — but don’t open the oven door too soon! Otherwise, they might sink like a stone (and we definitely don’t want that!).
Final Thoughts on Bran Muffins
These Bran Muffins are totally worth making because they strike that perfect balance between health and flavor — you get a hearty, satisfying muffin without sacrificing taste. Seriously, once you try them with real honey and dark brown sugar, you’ll see what I mean. If you’ve been putting this off, tonight’s the night. They’re great for breakfast or a snack on the go. Drop a comment if you added anything — I’m always curious!
Bran Muffins
Ingredients
Method
- Preheat your oven to 375°F (190°C) and line a muffin tin with paper liners or grease it lightly.
- In a large bowl, combine the wheat bran and buttermilk. Let it sit for about 10 minutes to soften the bran.
- Add the brown sugar, honey, and egg to the bran mixture. Mix until well combined.
- In a separate bowl, whisk together the whole wheat flour, baking soda, and salt.
- Gradually add the dry ingredients to the wet ingredients, stirring until just combined. Do not overmix.
- If using, fold in the raisins and walnuts until evenly distributed.
- Spoon the batter into the prepared muffin tin, filling each cup about two-thirds full.
- Bake for 18-20 minutes, or until a toothpick inserted in the center comes out clean. Let cool in the pan for 5 minutes before transferring to a wire rack.