
Baking’s already happening. The oven’s preheating, and I’ve got a bowl of cookie dough ready to go. Easter Cheesecake Cookies are about to make their debut, and trust me, they’re a game-changer for springtime gatherings.
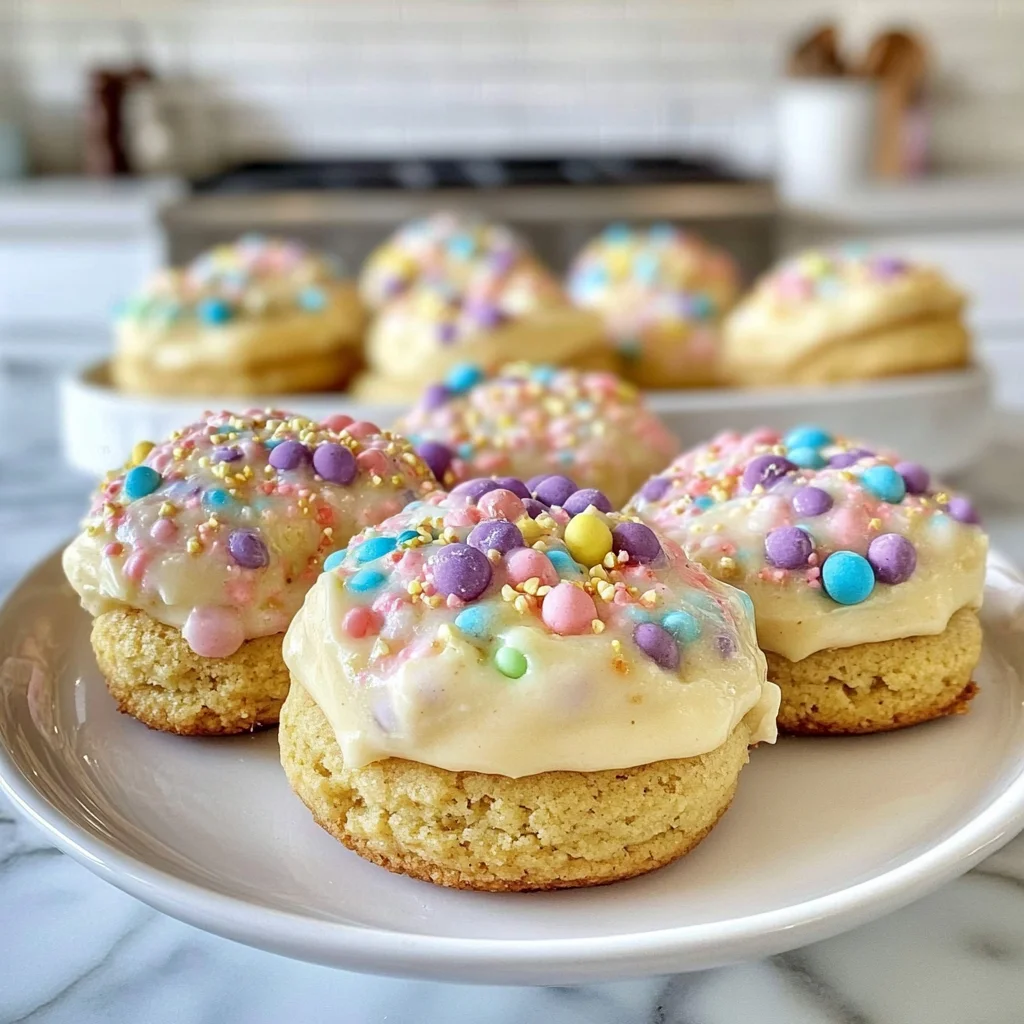
These cookies are perfect for those last-minute dessert emergencies when you want something festive but don’t have all day. With a creamy cheesecake filling tucked inside each sweet bite, they beat the usual dry cookies any day (seriously, who wants that?). So grab your butter and cream cheese. Let’s get started!
Why You’ll Love This Easter Cheesecake Cookies
- Super Easy: Mixing up the dough and cheesecake filling is a breeze, even if you’re not a pro baker.
- Rich Flavor: The buttery cookie base pairs perfectly with the creamy cheesecake filling, giving you a sweet treat that’s hard to resist.
- Crisp-Tender Texture: You’ll get that nice cookie crunch on the outside and a soft, melty-gooey center that just hits right.
- Versatile Treat: These are great for Easter, but honestly, they’d rock any time of year—just swap out the sprinkles for whatever you have!
- Baking Time Caution: Watch them closely in the oven; it’s easy to overbake. If they’re too golden, they can dry out (trust me on this).
Easter Cheesecake Cookies Ingredients
For the Base:
unsalted butter (1 cup) — Use room temp unsalted butter for a creamy dough, or you’ll get clumps.
granulated sugar (1 cup) — Don’t skimp on granulated sugar; it’s key for that perfect sweetness—no substitutes, folks.
all-purpose flour (2 cups) — Sift your all-purpose flour for light cookies, or they’ll be dense and heavy.
baking powder (1 teaspoon) — Always use baking powder, not baking soda, or your cookies won’t rise right.
salt (1/2 teaspoon) — Don’t skip salt; it balances sweetness, or your cookies’ll taste flat and boring.
egg (1 large) — Use large eggs for the right moisture—medium ones just won’t cut it.
vanilla extract (1 teaspoon) — Get pure vanilla extract, not imitation; it makes all the difference in flavor.
For the Cheesecake Filling:
cream cheese (8 ounces) — Use full-fat cream cheese for a rich texture—light versions just won’t hold up.
powdered sugar (1/2 cup) — Sift that powdered sugar before mixing, or you’ll get lumps in your icing.
egg (1 large) — Use quality sprinkles like Wilton; cheap ones bleed color and ruin your cookies.
vanilla extract (1 teaspoon)
For the Topping:
colorful sprinkles (1/2 cup)
Full measurements in the recipe card below.
How to Make Easter Cheesecake Cookies
1. Preheat Oven: Preheat your oven to 350°F (175°C) and line a baking sheet with parchment paper. This helps the cookies bake evenly and not stick.
2. Cream Together: In a large bowl, cream together the unsalted butter and granulated sugar until light and fluffy. You want it to look pale and airy, about 3-5 minutes.
3. Mix in Egg & Vanilla: Add in the large egg and vanilla extract, mixing until well combined. The batter should be smooth without any clumps (you’ll want this for the best texture).
4. Combine Dry Ingredients: In another bowl, whisk together the all-purpose flour, baking powder, and salt. Gradually add this dry mix into your wet ingredients, stirring until just combined—don’t overmix or you’ll end up with tough cookies.
5. Scoop & Indent: Scoop tablespoon-sized balls of dough onto your prepared baking sheet, leaving space between each cookie. And don’t forget to make a small indentation in the center of each ball for that creamy filling later!
6. Prepare Filling: In a separate bowl, beat the softened cream cheese until smooth. Add in the powdered sugar, another egg, and more vanilla extract, mixing until creamy—this should be totally lump-free.
7. Fill & Bake: Fill each cookie’s indentation with a spoonful of cheesecake filling, then bake for 12-15 minutes until edges are lightly golden (don’t rush here; if you pull them out too soon, they’ll fall apart).
Exact quantities in the recipe card below.
How to Store Easter Cheesecake Cookies
- Room Temperature: Keep them in an airtight container for up to 3 days. They’ll stay soft, but the filling might lose some of its creamy texture.
- Refrigerator: Store in a sealed container for about a week. Just know that the cookies can get a bit firmer and less gooey, which isn’t ideal if you love that melty-gooey center.
- Freezer: Wrap individual cookies tightly in plastic wrap and then put them in a freezer bag. They’ll last for about 2 months! Just keep in mind that the cheesecake filling might not be as smooth after thawing.
- Reheating: Pop them in the microwave for about 10-15 seconds or until they’re warm but not hot. You want to see a little steam coming from the cheesecake filling — that’s when they’re ready!
What to Serve with Easter Cheesecake Cookies?
These cookies are sweet and creamy, so you might want something to balance that richness. Here are some great ideas to keep things lively:
- Fresh Berries: Their tartness cuts through the sweetness, making every bite feel refreshing and light.
- Lemon Sorbet: The cold, citrusy flavor contrasts beautifully with the warm cookies, adding a nice temperature difference.
- Iced Tea: A chilled drink helps cleanse your palate between bites; I’d go with a lightly sweetened version for balance.
- Mint Leaves: Try garnishing with fresh mint for a pop of color and an aromatic lift that brightens each bite.
- Whipped Cream: A dollop of unsweetened whipped cream adds airy texture without overwhelming the cookie’s flavors. Just whip until soft peaks form!
- Chocolate Sauce: Drizzle some over the top for a rich contrast; I’d recommend warming it slightly to make it pourable.
- Citrus Salad: Toss together oranges and grapefruits for a zesty side that balances sweetness with acidity—perfect for brunch!
Easter Cheesecake Cookies Variations
Here’s how to play with this recipe to make it your own.
- Lemon Zest: Add 1 tablespoon of lemon zest to the base for a bright, citrusy kick.
- Chocolate Chips: Toss in 1 cup of mini chocolate chips into the cookie dough for melty-gooey goodness.
- Nutty Crunch: Mix in 1/2 cup chopped nuts (like walnuts or pecans) with the flour for a nice crunch.
- Almond Extract: Substitute 1 teaspoon of vanilla extract for almond extract in the filling for a unique twist.
- Berry Swirl: Add 1/2 cup of mashed raspberries to the cheesecake filling for a fruity surprise.
- Caramel Drizzle: Drizzle caramel sauce over the cooled cookies for that next-level indulgence (you won’t regret it).
- Sprinkles Upgrade: Use themed sprinkles that match your holiday or party theme—makes them even more fun!
Make Ahead Options for Easter Cheesecake Cookies
I like to prep the dough for these Easter Cheesecake Cookies a day in advance. Just make the base and cheesecake filling, then store them separately in airtight containers. The cookie dough can hang out in the fridge for up to 48 hours, while the filling is good for about 3 days. I wouldn’t recommend baking them ahead of time, though; they’re best fresh out of the oven. (Trust me on this.) Right before serving, just fill each cookie with the cheesecake mixture and bake! You’ll love how they smell when they come out. Bake ’em fresh for maximum yum!
Easter Cheesecake Cookies Recipe FAQs
Can I make Easter Cheesecake Cookies ahead of time?
Totally! You can make the cookie dough and cheesecake filling a day in advance. Just store them separately in the fridge. When you’re ready to bake, let the dough soften for about 10-15 minutes at room temp, then scoop and fill as usual. If you freeze them, just be aware that baking times might change a bit when you go from frozen to baked!
Why did my cookies spread too much?
If your Easter Cheesecake Cookies are spreading like crazy, it’s likely due to warm butter or overmixing the dough. Make sure your butter’s softened but not melted (think creamy, not liquid). Also, don’t overwork your dough once you add the flour; mix until just combined. Keeping an eye on them while they bake helps too — edges should be lightly golden.
What can I substitute for cream cheese in this recipe?
I’d recommend sticking with full-fat cream cheese if you can — it really gives that rich texture we love. But if you’re looking for a substitute, mascarpone is a great alternative. Just know it might be a tad sweeter and lighter in flavor. (Trust me on this.) Whatever you choose, make sure it’s softened well so there won’t be lumps!
How do I know when my cookies are done baking?
You’ll want to look for lightly golden edges on your Easter Cheesecake Cookies; that’s usually a good sign they’re ready. The centers might still seem soft but they’ll firm up as they cool down (just don’t pull them too early!). If you smell that delicious buttery aroma wafting through your kitchen, you’re definitely getting close!
Final Thoughts on Easter Cheesecake Cookies
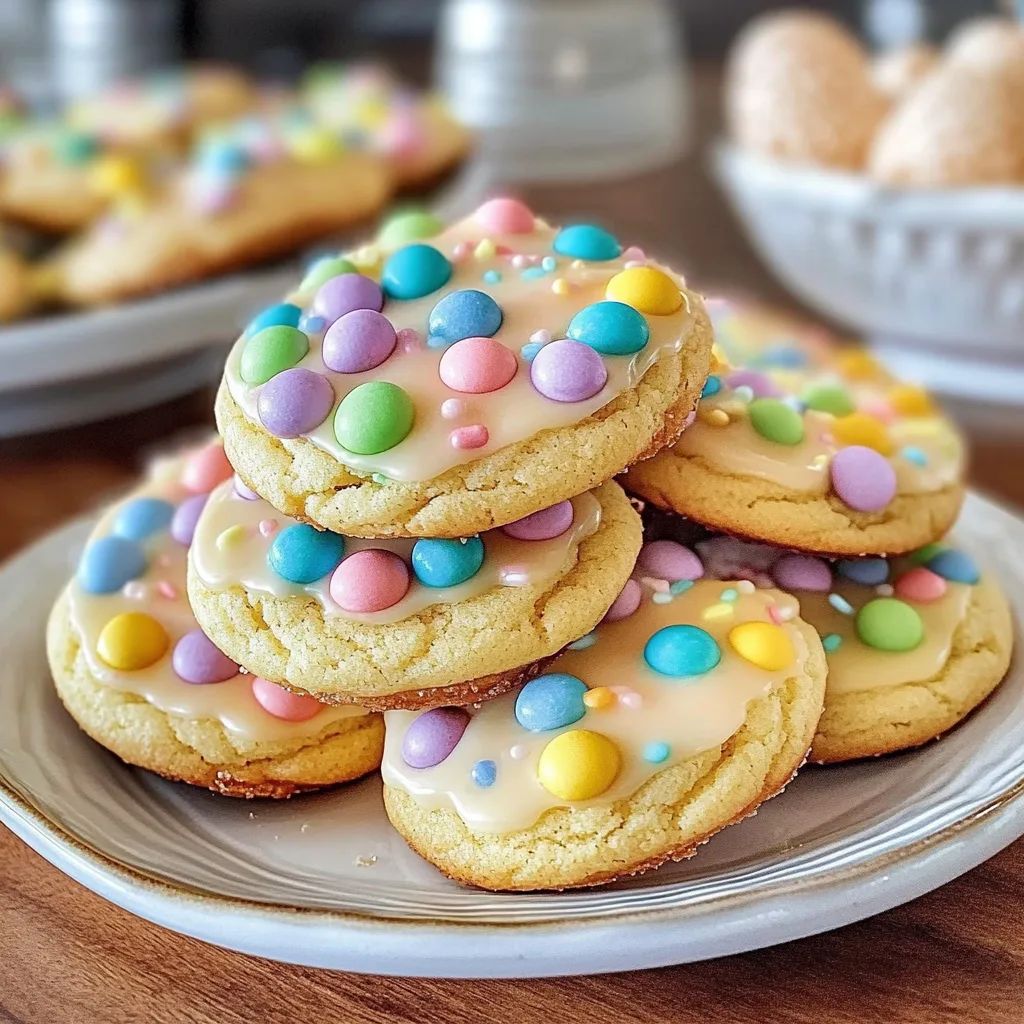
These Easter Cheesecake Cookies are all about that creamy, rich cheesecake filling nestled in a soft, buttery cookie base. Seriously, the flavor payoff from using full-fat cream cheese and pure vanilla extract is worth every second spent in the kitchen. If you’ve been looking for a fun treat to whip up for spring gatherings (or just for yourself), give these a go! I’d love to hear how yours turned out—drop a comment and let me know!